Best Image Comparison Plugin for WordPress Before/After Image Slider
Adding image comparison sliders to see the before and after changes helps in getting more potential customers. All you need is the best image comparison plugin that allows you to add a before after image slider.
Though image comparison feature also known as image slider, it doesn’t work like logo sliders or other slider features. Instead, it shows comparison between images.
If you go through the list of available image comparison plugins, you will see each plugin has unique features. Choosing one from them could be a little stressful. Testing them one by one on the WordPress dashboard is complicated and time-consuming.
Considering this fact, I have made a list of plugins that come with a user-friendly interface. Here I have included free and premium plugins both.
What is an Image Before After Slider for WordPress
An image before and after slider is a feature that allows a webmaster to show the comparison between two images. For instance, if you have a home renovation service, you can showcase one of your projects with the before and after images. Similarly, suppose you provide a car refurbishing service, you can easily display your work samples with the before and after images.
Why Should You Use an Image Comparison Slider?
Image comparison plugin is the best way to show before and after comparison between images. Though it is most common in the photo retouching and clipping path industry, the feature is beneficial for different businesses.
In the image editing and retouching industry, it is mandatory to show how the images will look after editing. With the image comparison plugin, it is so easy to show the comparison between two images.
It could be other industries too. For example, if you are providing home decor services, roofing business, home renovation, or similar services, you can show the before and after images of your projects. That will give a clear idea to the visitors to understand how they are going to benefit.
For each of the businesses mentioned here are greatly dependent on image comparison.
Top 5 Before After Image Comparison Sliders – Free Options Included
Before making the list of top 5, I have gone through tons of WordPress plugins for image comparisons. After checking the features and ease of use, I finally have picked the following image comparison WordPress plugins.
ElementsKit All-in-One Addons for Elementor (Free Option)
If you are looking for the best Elementor before and after slider, ElementsKit is the best solution. It is the ultimate Elementor Addons plugin that allows users to design any kind of webpage without writing any code. It is so easy to use and customize that even a beginner can design a complete website with the plugin.

One of the coolest features of ElementsKit is image comparison. The plugin features a widget called image comparison that allows users to compare two images. There is no need for any code.
All it needs is dragging and dropping the widget on the page where you want to show the image comparison. Then upload the before and after images that you want to compare. When a visitor lands on the page, can slide with mouse clicks to check the before and after comparison.
You can customize the features of the widget from the widget’s options panel. Set custom margins and padding, border type, border-radius, and many more just with mouse clicks. The plugin allows users to show the image comparison both in vertical and horizontal positions.
Key Features
- Responsive and touch-friendly design
- Unlimited image sliders with drag and drop feature
- Free to use and supports with Elementor free version
- Suitable to design any kind of webpage without coding
Before After Image Comparison Slider for Elementor (Paid)
It is another WordPress before and after slider Elementor addons plugin. Unlike ElementsKit, it is dedicated only to image comparison sliders. This means you can’t design any other kind of webpages with it.
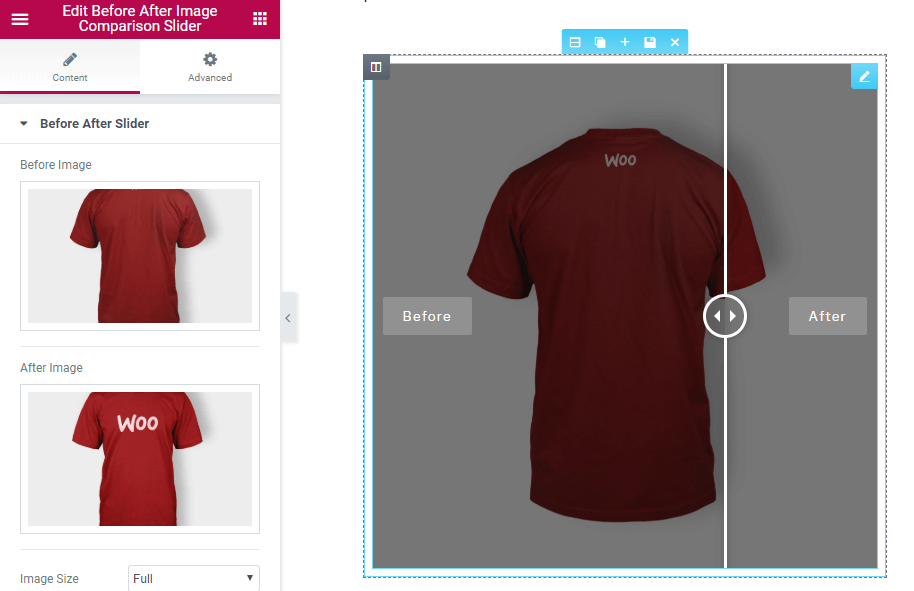
Also, it is a premium plugin that will cost you $12. Also, if you want to add other additional features like Gallery slider, carousel slider, etc. you need to spend more.
If you choose the basic package, you can only add the regular styled image slider. For other advanced features, you have to install the additional addons.
However, once you purchase the plugin, you can add a custom slider from the WordPress dashboard. Also, the plugin offers customization options from where you can choose the layouts and other settings. For example, you can change the background, color, border, etc.
The slider with the plugin will be responsive to appear properly according to the device. If you want, you can add custom CSS as well.
Key Features
- It supports all the popular web browsers
- Allows to add unlimited before after sliders
- You can choose a custom image size
- Supports global custom CSS
Ultimate Before After Image Slider & Gallery – BEAF (Free)
If you need only the before and after image slider and you don’t want to spend money, the Ultimate Before After Images slider is a good option. Compared to similar WordPress plugins, this one is easy to use.
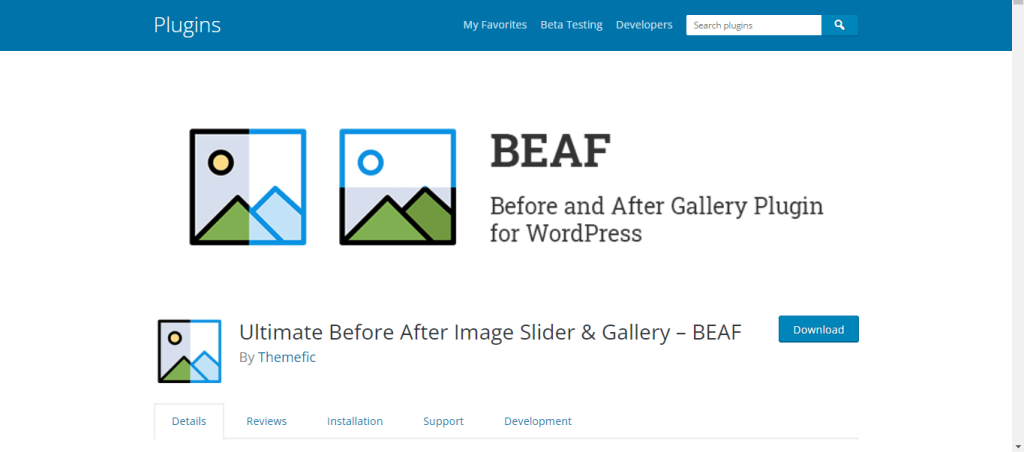
Once you install the plugin, you can control everything from the dashboard. There won’t be any need to write or customize codes.
It offers multiple layouts for the image slider feature. So, choose the style that matches your requirements. Apply the styles and check the previews so that you can know which one looks better for your website.
For the image slider, you can add descriptions, individual texts, and many more. The customization option is greatly helpful.
Though you can use the basic image slider with the free version, you can also choose the pro version if needed.
Key Features
- Features mouse hover effect
- Easy to understand user dashboard
- Comes with a shortcode generator for custom layouts
- SEO friendly and responsive design
Multipurpose Before After Slider (Paid)
It is a premium WordPress plugin for adding image sliders to a webpage. The plugin is available for $18. If you are looking for a plugin that offers lots of customization options, we do recommend the Multipurpose Before after slider. It features an easy-to-understand user interface from where you can add the image sliders.
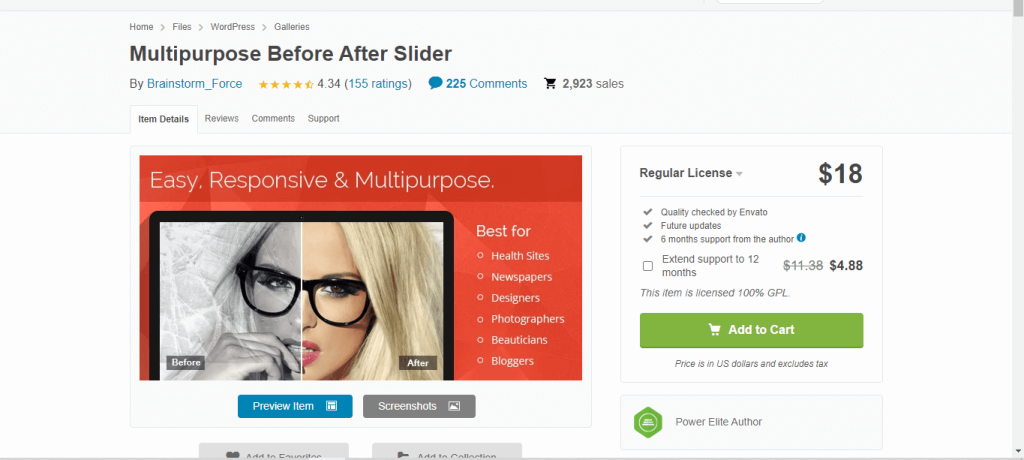
You can use the image slider feature by uploading the before after images one by one. Once you are done, check the preview, and finalize. The plugin allows you to generate shortcodes that you can use on any page.
It offers two different styles for the image slider. Also, you can customize the width and height of the images, comparison bar shadow, autoplay speed, and many more. Choose the settings that you want and publish the page.
Key Features
- Highly customizable layouts for a unique design
- Shortcode generator for flawless design
- Mobile-friendly responsive design
- Allows users to add custom descriptions
Image Hover Effects Ultimate (Image Gallery, Effects, Lightbox, Comparison or Magnifier) (Free)
Image Hover Effects Ultimate is a free WordPress plugin to add image effects, comparison between images, and more to a website. It is simple to use and comes in a minimal design for users’ convenience.
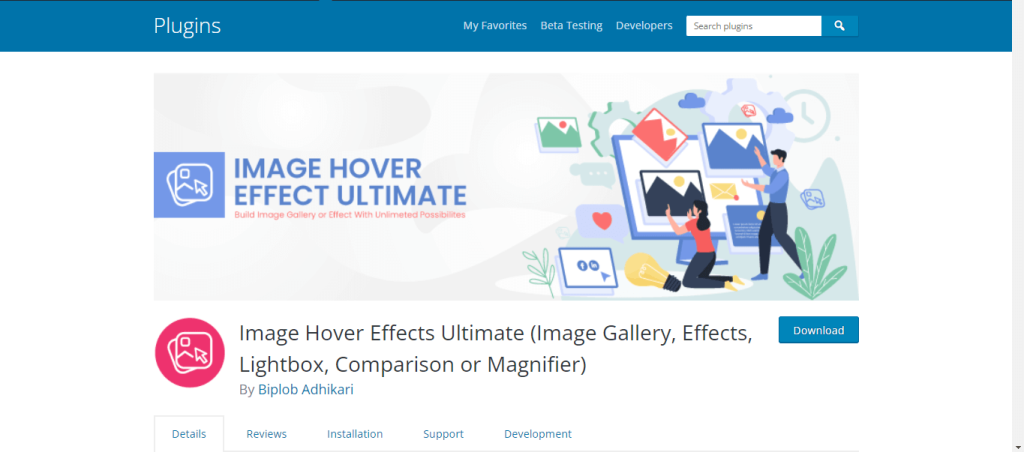
It’s easy to add the before and after comparison for two images with the plugin. There is no need to understand how codes work.
Once you add the images, it allows you to change the shadow, image size, style, alignment, and more. It features minimal codes that load faster. All the hover effects are advanced pure CSS3 based. Modify the CSS codes if needed in any custom style. However, most of the advanced features are available only for the pro version.
If you are running a small website that needs a regular styled image comparison slider, go for this plugin.
Key Features
- Multiple hover effects feature for images
- Responsive and attractive layouts
- Designed with advanced CSS3 based animation
- Advanced features are available for the pro version
Which Before After Slider Plugin Do We Recommend?
Though we have recommended 5 different WordPress before and after sliders in the list, we highly recommend the ElementsKit Elementor addon plugin. Unlike most other image slider plugins, it gives you more control over the design. Also, you can add different elements like image accordion, advanced parallax effects, etc. along with the comparison slider.
The best thing about this plugin is that it comes with all the popular features that are needed for a website. So, you won’t have to install multiple plugins for every single section of the website. If you need any advanced features, just upgrade to the pro version of ElementsKit.
How do I add a before and after image in WordPress?
For each before after slider plugin, the process will be different. As we recommend ElementsKit, here is the process.
First of all, go to your WordPress dashboard and search for Elementor and install it. Then download ElementsKit and install the plugin.
Now create a new page from the WordPress dashboard and choose edit with Elementor. Search for the Image Comparison widget in the widget library and drag and drop it on the page.
You will see the option to choose the images. Upload the before and after images and it will now work as the slider.
From the widget settings, choose the style, border, and other settings, check the preview and then publish it.
Things to Consider for an Image Comparison Slider
If you are going to use the before and after images slider for the first time, before finalizing a WordPress plugin, consider the following things –
Responsive Design
There is no benefit if you choose a plugin that doesn’t work properly on all devices. So, when you want to install a before and after photo slider, check in the plugin description if it offers a responsive layout or not. Responsive layout ensures that the plugin fits properly regardless of the devices.
Fast Loading Speed
When a visitor lands on a webpage, it should load faster. According to Google research, half of the visitors leave a webpage if it takes more than 3 seconds to load. Be aware of the loading time of the image comparison plugin you are going to use.
Ease of Use
The purpose of using a plugin for before and after comparison between images is to avoid the hassle of coding. An image comparison plugin meant to be easy to use so that anyone with zero coding knowledge can add the before and after slider. If an image comparison plugin is difficult to use, I would recommend avoiding it.
Customization Options
Different plugins make it easy to add an image comparison slider just with a few clicks. But, if you want to make it attractive and show custom options, the plugin needs to have the customization option. Elementor before and after slider features of ElementsKit and some other plugins have customization options to get the perfect look for the slider.
Frequently Asked Questions
If you have more queries regarding the best image comparison plugin for WordPress, check out the following questions and answers.
Does WordPress have a built-in slider?
WordPress classic editor doesn’t have any image slider neither does Gutenberg editor. So, it is essential to install a third-party plugin or custom code if you want to show a comparison between two images.
Can I add an image comparison slider for free?
Yes, you can use the image comparison feature for free with ElementsKit and other free plugins from the list.
Wrapping Up
In this list of best image comparisons before after slider plugins, we only included the user-friendly options. So, you can choose any. But, if you want to add some additional features to your website without installing a new plugin, ElementsKit is the best option. It is free and offers regular updates.
However, if you have a budget for a premium one and want to have more customization options, go for any of the premium plugins from the above list.

