How to Design Custom Emails with WooCommerce Email Templates
Creating custom emails in WooCommerce is a powerful way to connect with your customers on a more personal level. By tailoring your email designs to reflect your brand’s identity, you can enhance engagement, build trust, and drive more conversions.
Whether you’re sending order confirmations or promotional offers, personalized WooCommerce emails help you stand out in your customers’ inboxes, making your brand more memorable and impactful.
So, let’s get started with our tutorial on how to design custom emails with WooCommerce email templates.
Why Personalize Your WooCommerce Emails?
Overall, customers expect personalized experiences from the emails they receive. It significantly improves their satisfaction and brand loyalty.
Here are some reasons why you should personalize your WooCommerce emails:
👍 Improved Customer Experience: Tailored emails make customers feel valued and understood.
👍 Increased Engagement: Personalized content is more likely to be opened, read, and clicked on.
👍 Higher Conversion Rates: Relevant and timely emails can drive more sales.
👍 Enhanced Brand Reputation: Consistent WooCommerce email branding in your emails helps build trust and recognition.
Designing WooCommerce Emails using EmailKit Templates
EmailKit is a powerful plugin that simplifies the process of creating custom WooCommerce emails. It is a WooCommerce email template builder with drag-and-drop interface. Additionally, this tool allows you to easily design visually appealing templates without needing to write any code.
Here’s a step-by-step guide on how to use EmailKit Templates:
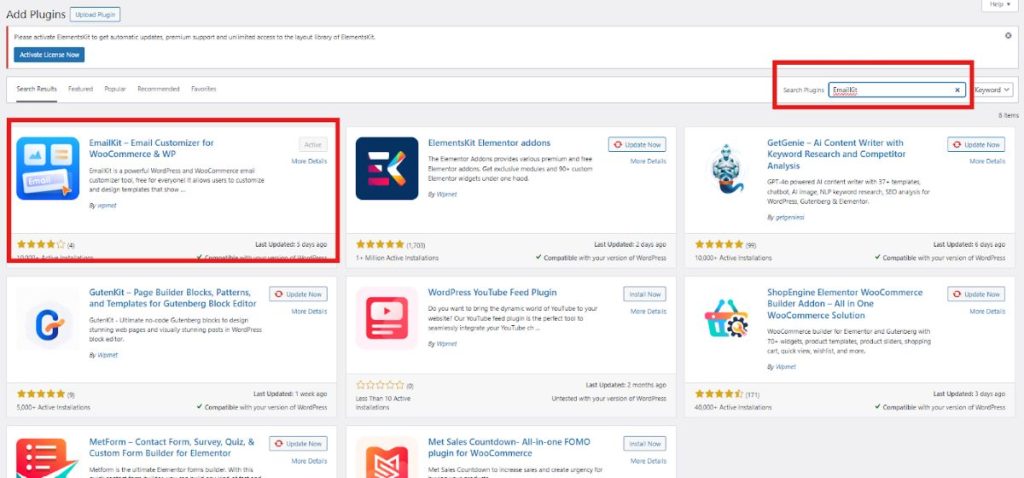
Step 1: Install and Activate EmailKit
Navigate to Plugins >> Add New Plugin and download EmailKit from the WordPress repository and activate it.
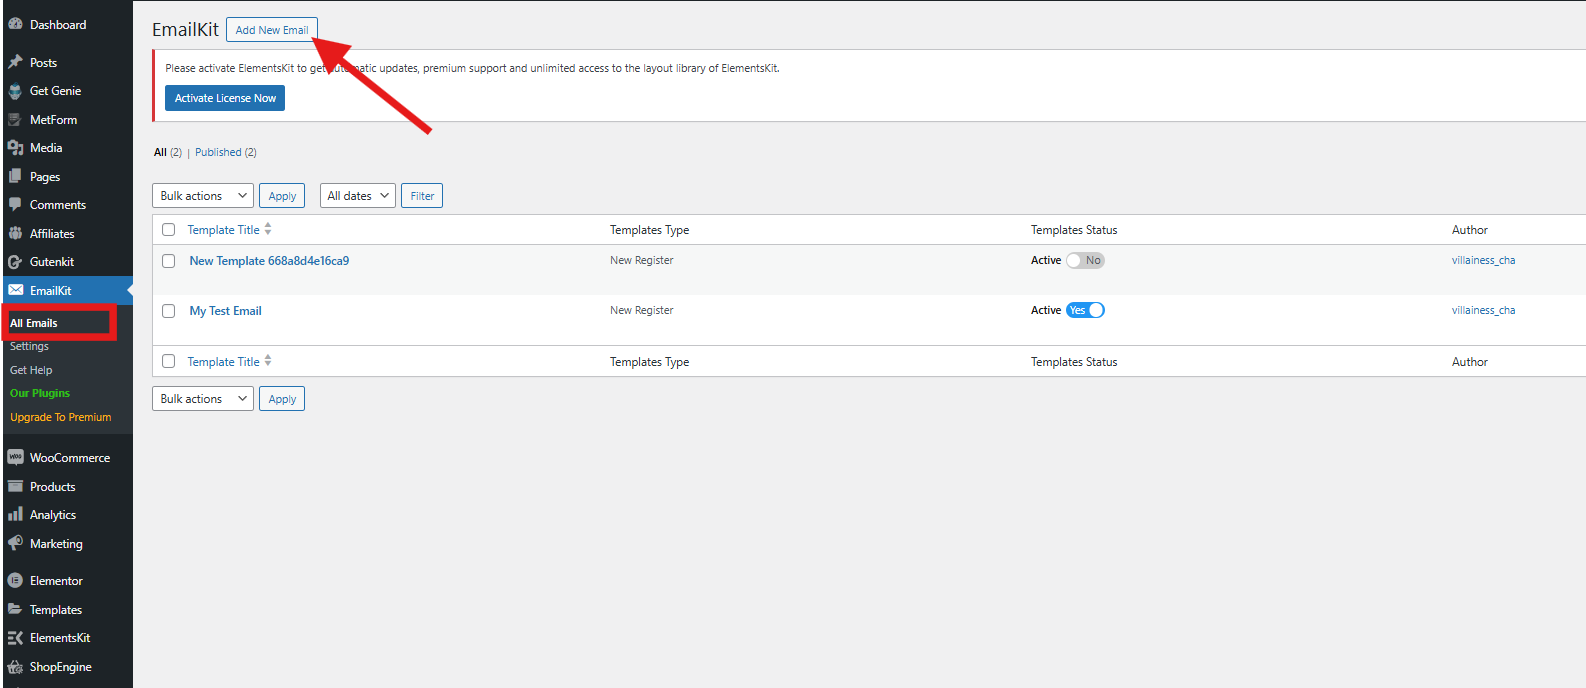
Step 2: Building your Email Template
To start building your email template, locate EmailKit in your WordPress dashboard and select All Emails. You can open your existing email templates to customize the design of your email template or start a new email template by clicking the “Add New Email” button.
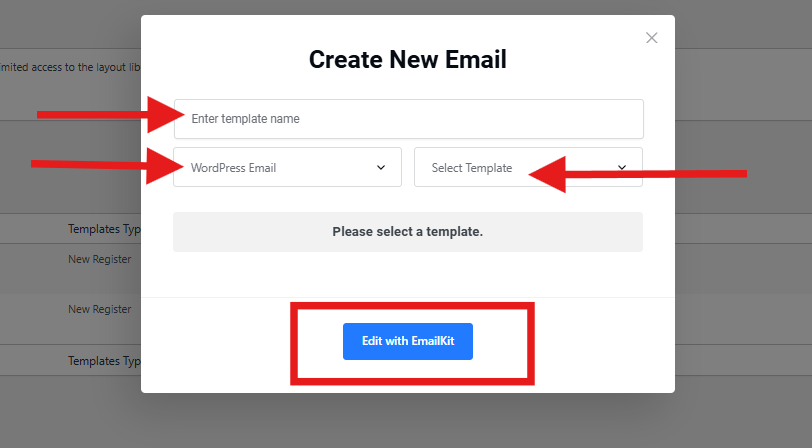
After you click “Add New Email”, you will be directed to a page where you will be required to complete the information of your template:
- Add a template name
- Select the email type – includes Email Type WordPress, Email Type WooCommerce, and Saved Templates
- Select template type
- And click Edit with EmailKit
Now, we’ll select the Email Type WooCommerce. You’ll have options to select such as New Order, Order On Hold, Customer Note, New Account, etc., but in this tutorial, we’ll select the New Order template.
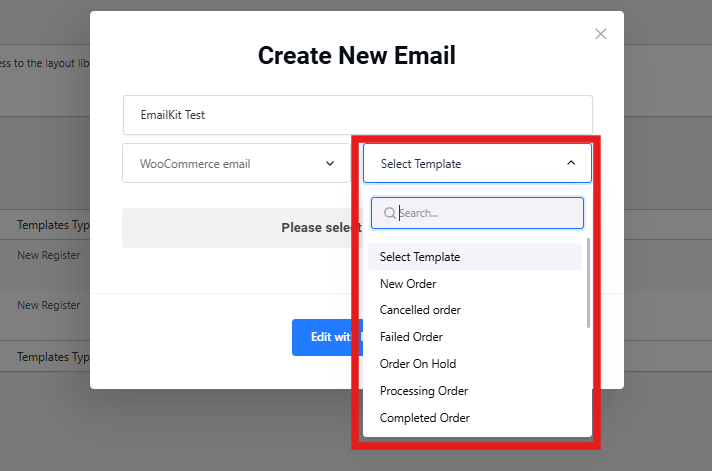
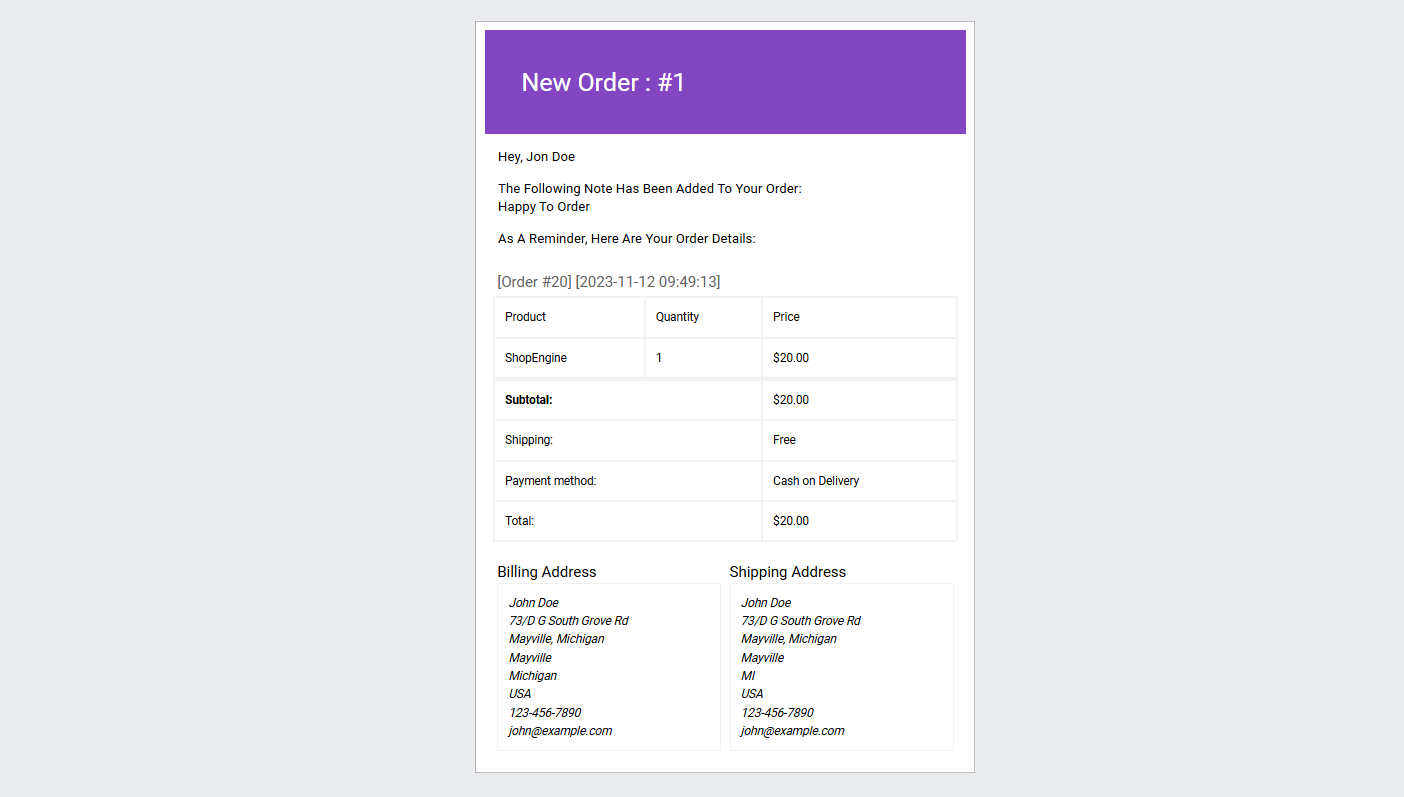
Then, choose a blank template. After that, click Edit with EmailKit. If you want to have an idea on how your email template looks, click on the demo template.
Step 3: Customize the Design
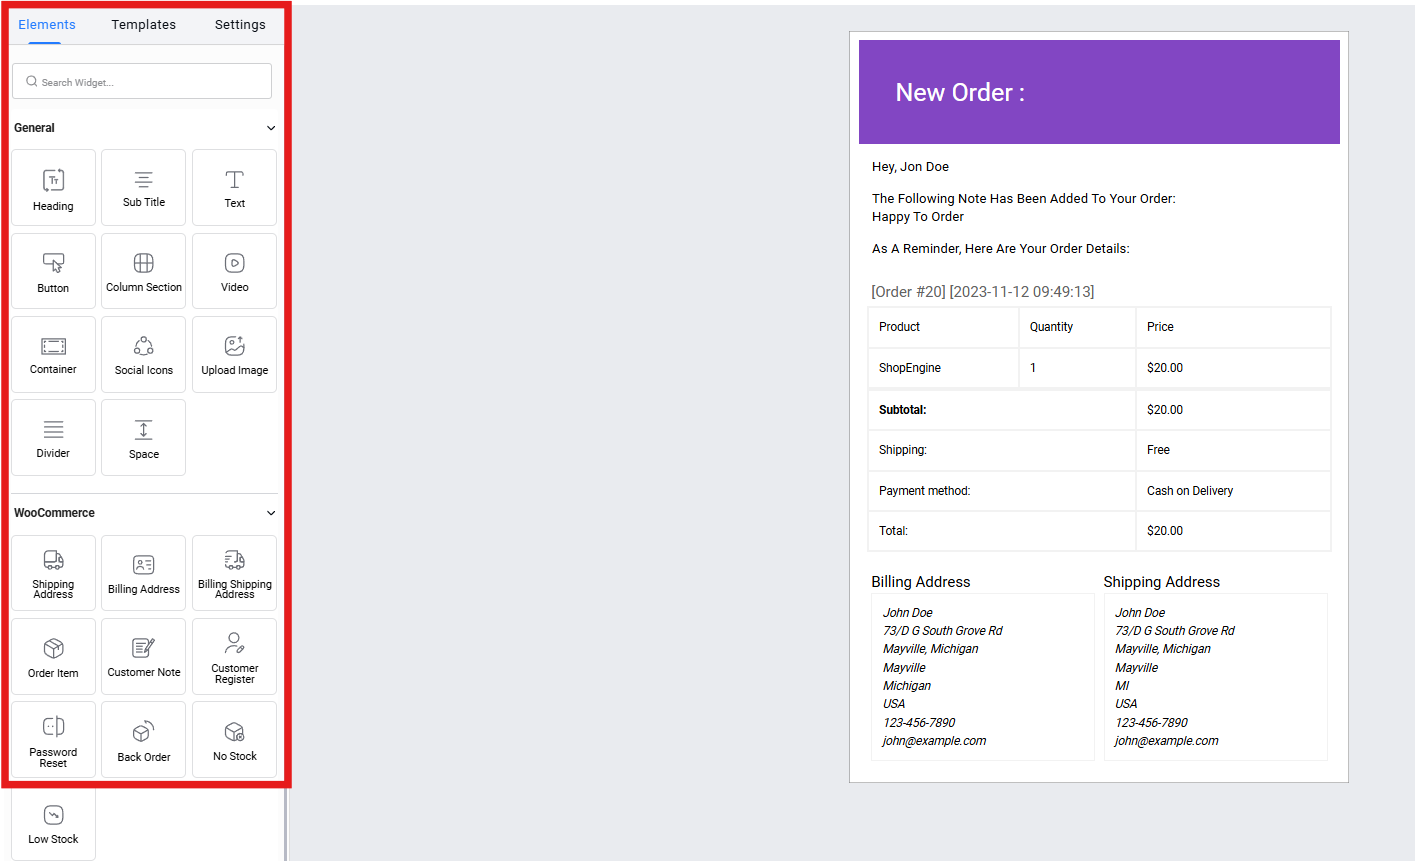
Once you click the “Edit with EmailKit”, you will be directed to your editor page. In the Elements section, you’ll find a variety of widgets to craft your email template.
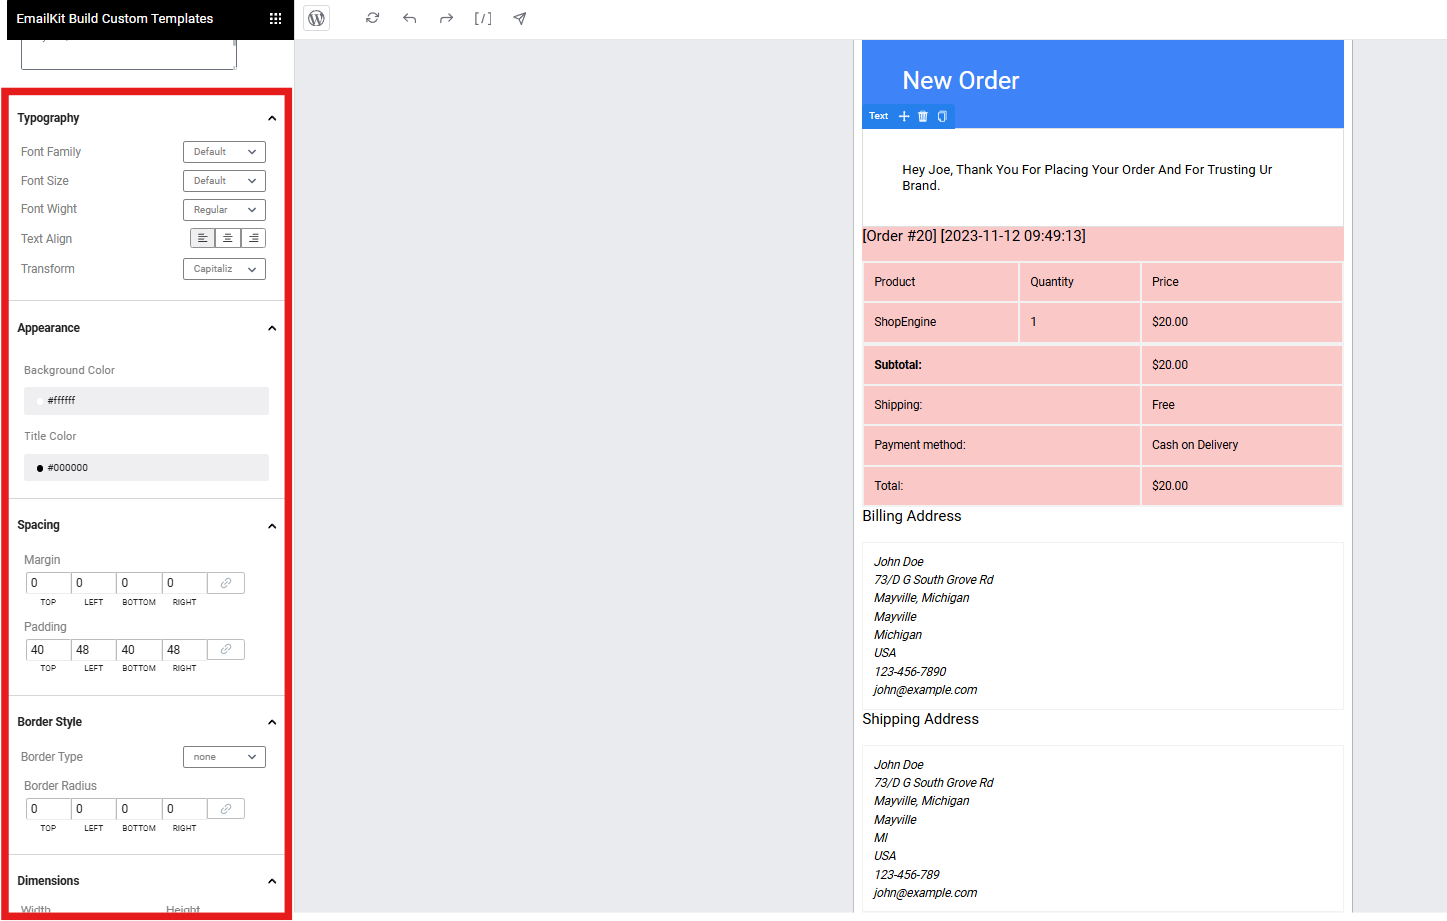
While designing each section of your email template, you can decide its typography, appearance, spacing, border style, and dimension.
In the Templates section, you’ll discover previously created templates. Additionally, the Settings section also allows you to customize the appearance and the spacing of your email template.

To ensure that the email template covers the important information you want to convey to your recipients, preview and test it first. To do that, utilize the test email sending option located in your editor screen. Then, save it once you are satisfied.

So, how can you edit your existing template?
Editing an existing template can be done with just a few easy steps. Navigate to WooCommerce in your dashboard and access the global WooCommerce custom email settings.

Next, go to the Emails center to have a view of all of your existing email templates.
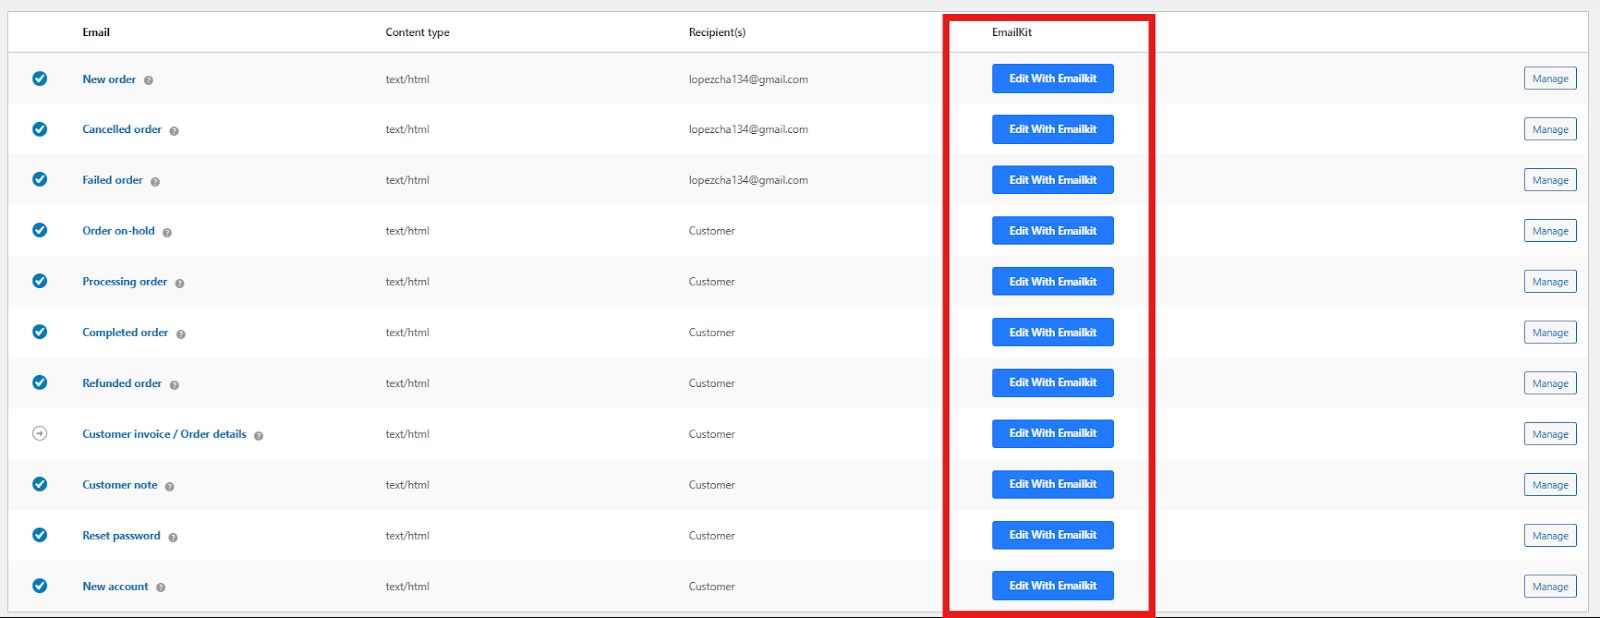
In each of your email templates, you’ll find “Edit With EmailKit.” Click it, and you can begin redesigning your email template.
Customizing Emails using WooCommerce Global Settings
Now, if you don’t have the extra budget to customize your email template with a plugin, you can utilize the global settings of your WooCommerce.
These settings allow you to make changes to all emails at once, such as:
- Email Subject Lines: Modify the default subject lines for various email types.
- Email Headers and Footers: Customize the header and footer content that appears in all emails.
- Email Content: Edit the default email content for specific email types (e.g., order confirmation, new account).
Now, here’s how you can do it:
To access the global settings, navigate to WooCommerce → Settings → Emails in your WordPress dashboard.
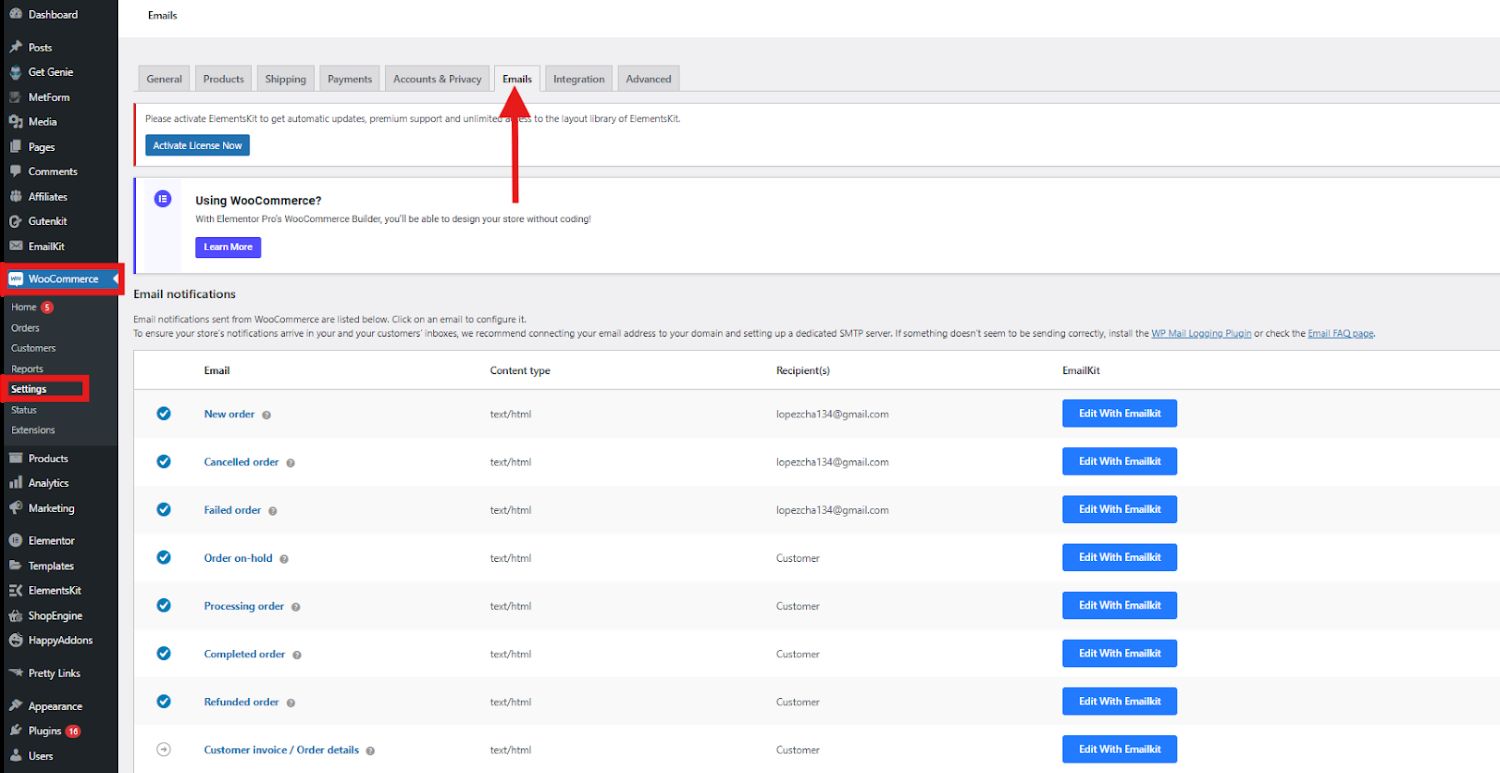
In the Email Center, you’ll find a comprehensive list of all email templates. This includes notifications for new orders, cancellations, failed payments, refunds, password resets, new account registrations, and more.
Next, scroll down to the Email sender options and Email template section. Here, you can change the “From name” and “From address”.
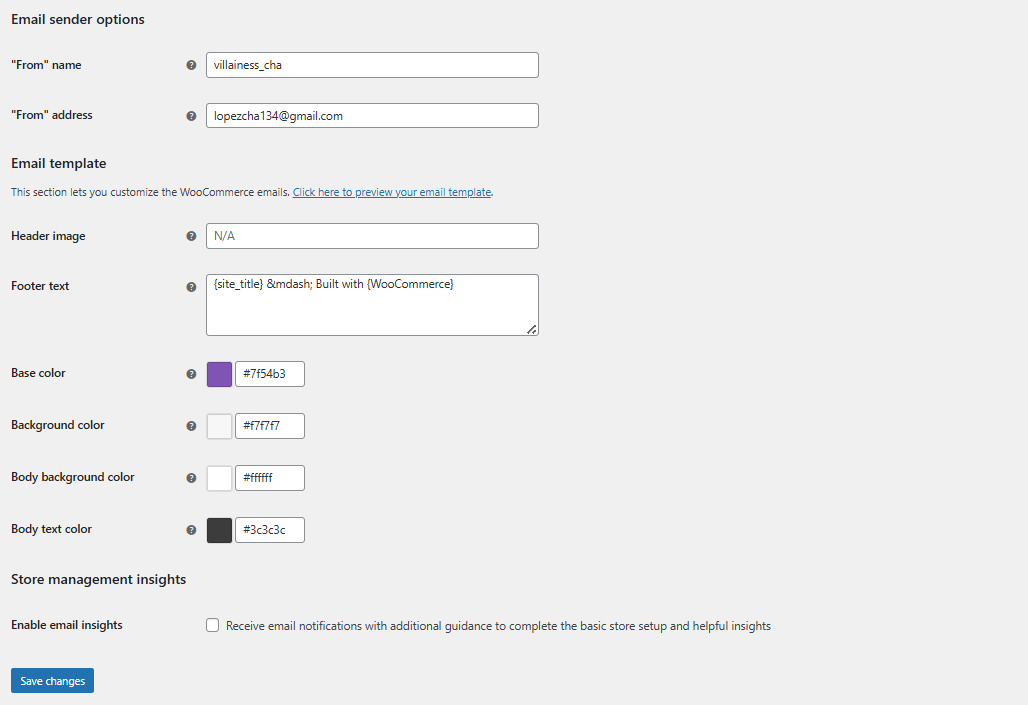
Additionally, you can add a header image, footer text, and adjust the base color, background color, and body text color according to your preferred style.
Save your changes after completing your edits. Remember, these adjustments are global and will impact all your WooCommerce emails. So, always preview the updates by clicking the Click here to preview your email template link.
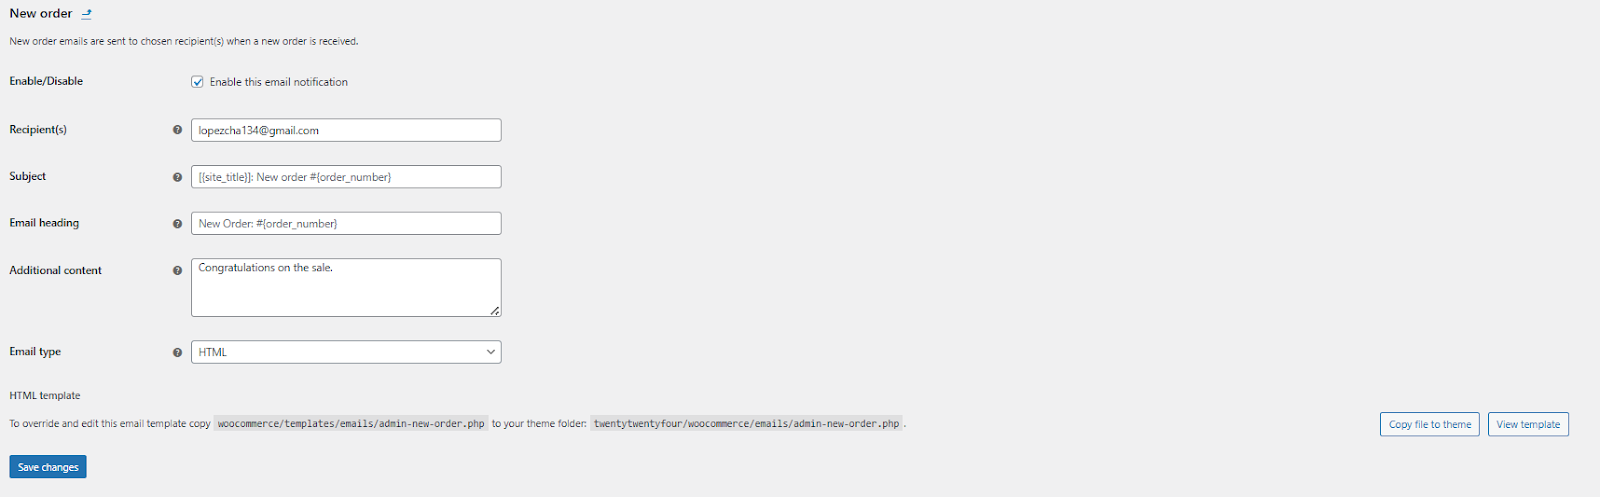
Moreover, WooCommerce allows you to tailor each email individually. In the Email tab within WooCommerce settings, simply click on any email or select the Manage button to access settings for that specific email.

You can personalize or update various aspects of the email such as subject line, content, heading, and type of email. Make sure to save any changes in your template.
In addition to customizing the design and content, it’s also important to make sure your emails reliably reach valid recipients. Using an email checker API can help you verify customer email addresses before messages are sent. This reduces bounce rates, improves deliverability, and ensures that your WooCommerce emails, whether confirmations or promotions, are actually seen by your customers.
Final Thoughts
Designing custom WooCommerce emails is a great move to have significant eCommerce performance. By using tools like EmailKit and customizing the global settings, you can create personalized, engaging, and effective emails that resonate with your customers.
If you are satisfied with the basic design process, you can make use of the global settings of your WooCommerce. However, go to EmailKit if you want to have limitless design options for your email template.
The choice is yours and never forget to try EmailKit with this WooCommerce email design guide!
